1. Installing Virtualization Software
Before downloading the Virtual Machine you need to have some virtualization software installed on your computer, like Oracle VM VirtualBox or VMware Workstation. In this guide will be using
VirtualBox.
To download it go to https://www.virtualbox.org/wiki/Downloads and choose the appropriate version for your operating system. In our case we are going to select Windows hosts.
Once the installer is downloaded, open it and follow the installer instructions.
During the installation you will probably be asked to allow the program to make changes, say yes to all so the installation can proceed.
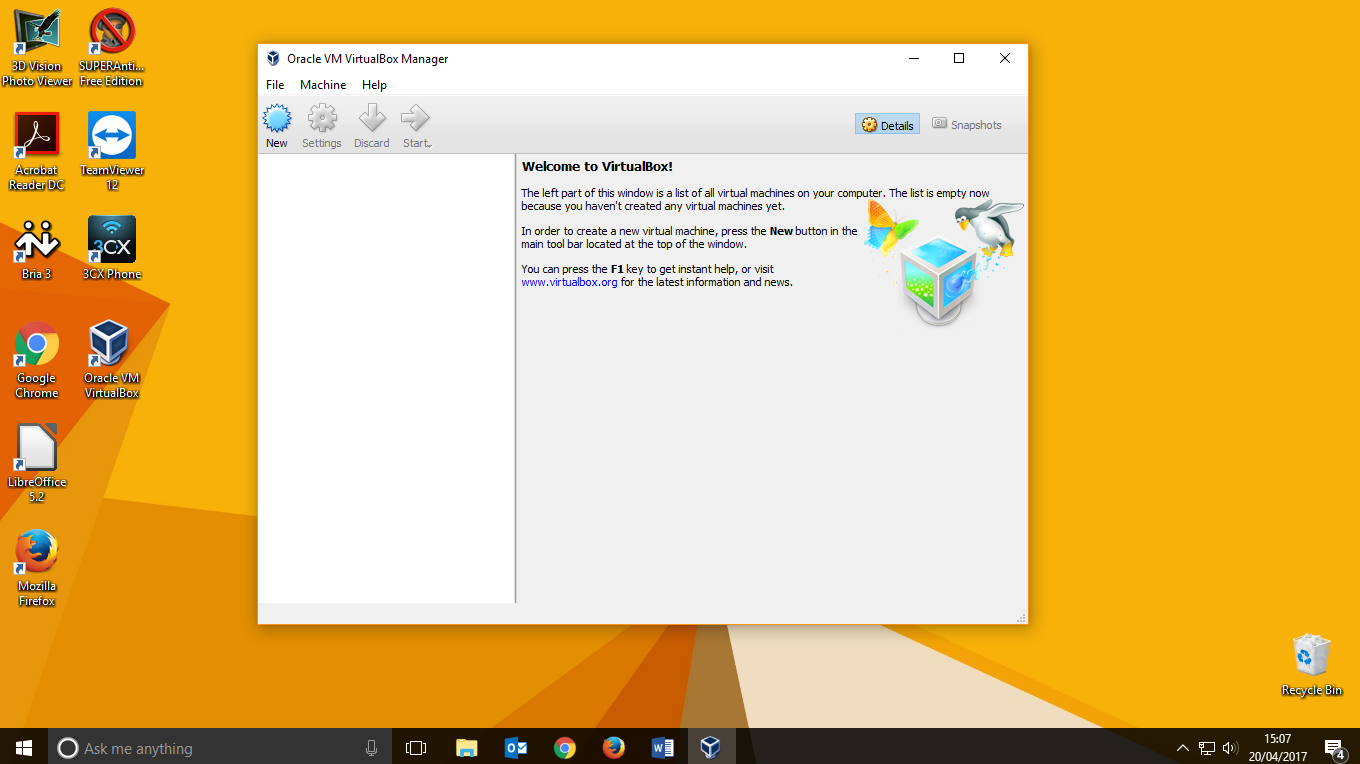
When the installation is finished go to your desktop and double click the Oracle VM VirtualBox icon to open the program.
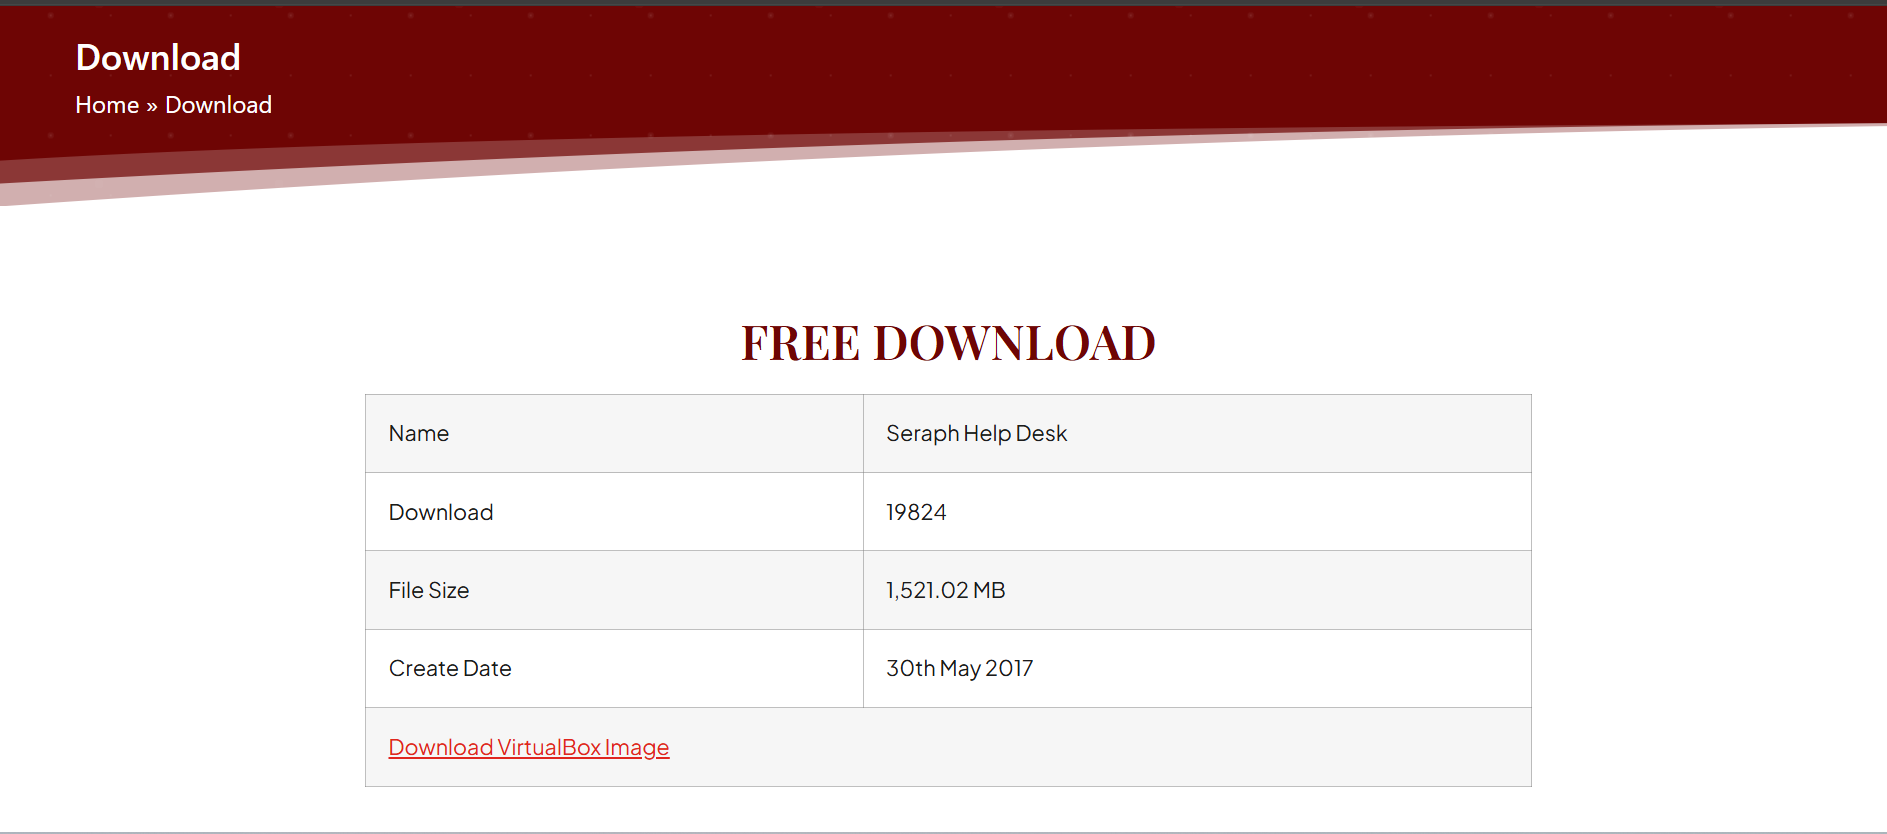
2. Downloading the VM (Virtual Machine)
Then the download will start.
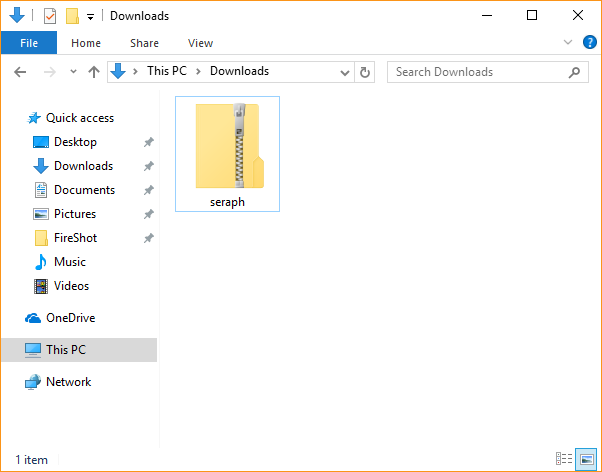
Once the download is finished, you will have on your Downloads folder this zip.
Open the zip, and extract the sheraph.zip file to the desktop.
Once the .zip file is extracted we can start setting up Seraph.
3. Setting up Seraph Helpdesk
3.1. Importing the VM
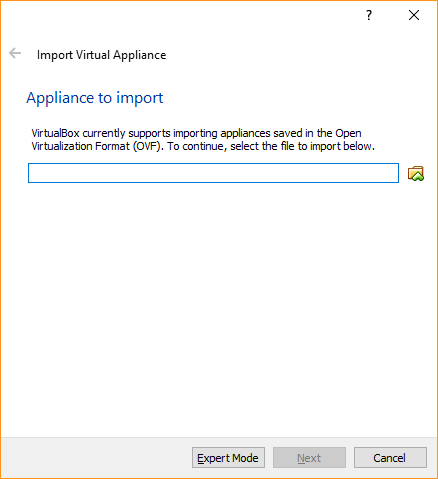
Open VirtualBox and go to File -> Import Appliance…
Click on the folder icon and select from the desktop the seraph.ova file
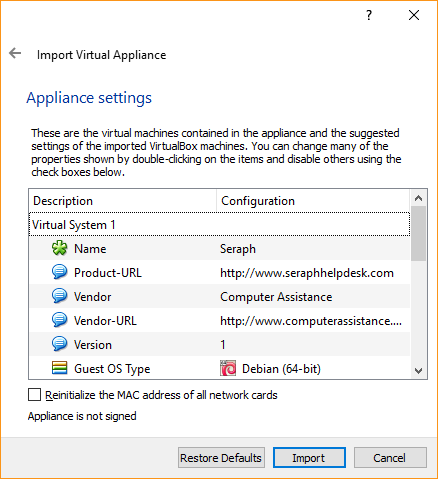
When you select the file click next and it will show you the details of the virtual machine. Click Import.
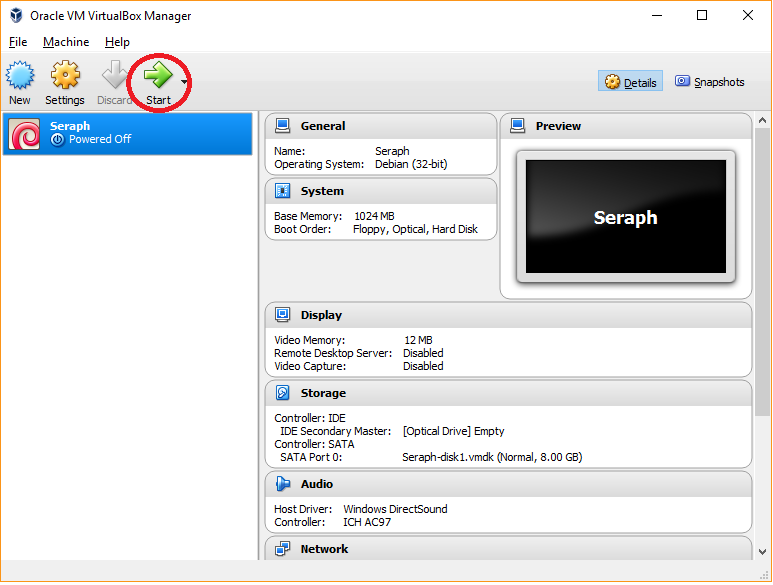
Once the VM is imported, select it and click Start to turn it on.
When you start the VM, you might get this error:
If you get this error don’t worry.
To fix this, click on “Change Network Settings”, and there change “Bridged Adapter” to “NAT”.
Click OK. Now select the machine and click Settings (on the same bar that the Start button) and go to Network
And change from “NAT” to “Bridge Adapter” again. Click OK and now you can turn on the machine.
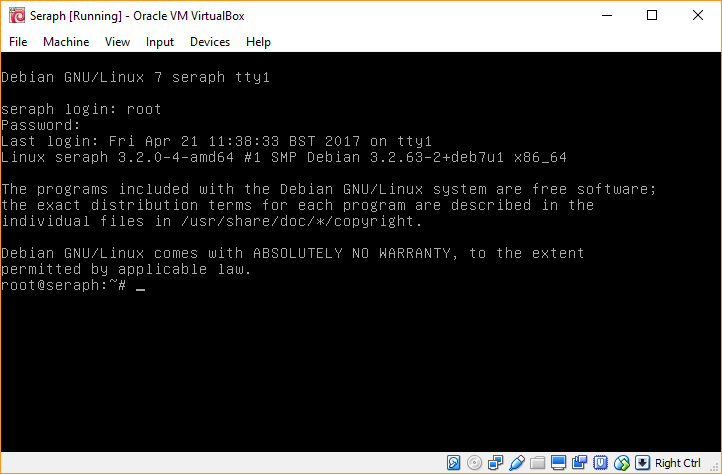
If everything goes fine, you will see the login prompt:
Log in with the user root with password seraph
Your screen should look like this after login in:
3.2. Network Configuration
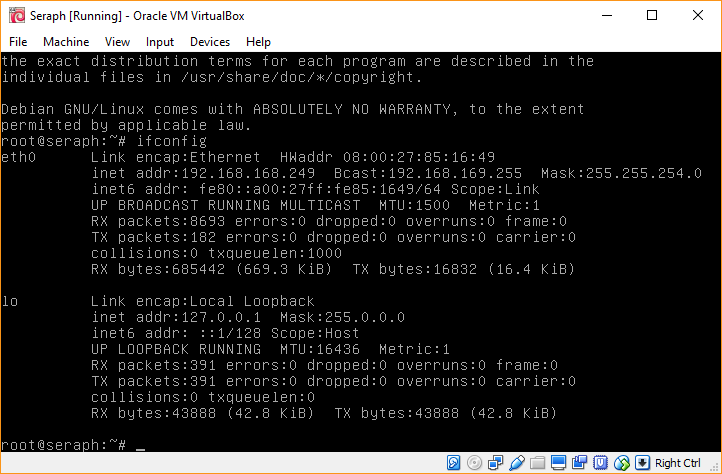
To see you network configuration (IP address, default gateway, etc.), type ifconfig
It should show something like this:
In this case, the IP is 192.168.168.249 because it’s the range on this network, maybe you have something like 192.168.0.5
By default the VM is using a DHCP configuration. If you want to change it and use a static IP, type:
nano /etc/network/interfaces
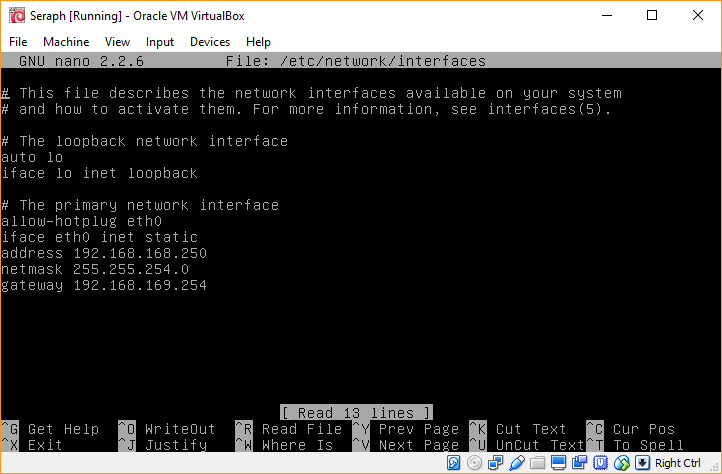
That will open the network configuration file with a text editor:
To change it from DHCP to a static IP, in this case, the file should look like this:
In your case it might be something like:
address 192.168.0.10
netmask 255.255.255.0
gateway 192.168.0.1
But the iface eth0 inet static line should not vary.
Once you have made all the changes, press Control + O to save the file, save it with the same name, press enter and now press Control + X to close the editor.
To apply the changes, type:
service networking restart
If it goes well, you should see this:
Now you have your network configured!
4. Administrating Seraph
Now that you have everything set up, you can enter to seraph typing on a web browser the IP direction of the server. In this case, htttp://192.168.168.249
You should see Seraph’s login page. Login with the user admin with password seraph
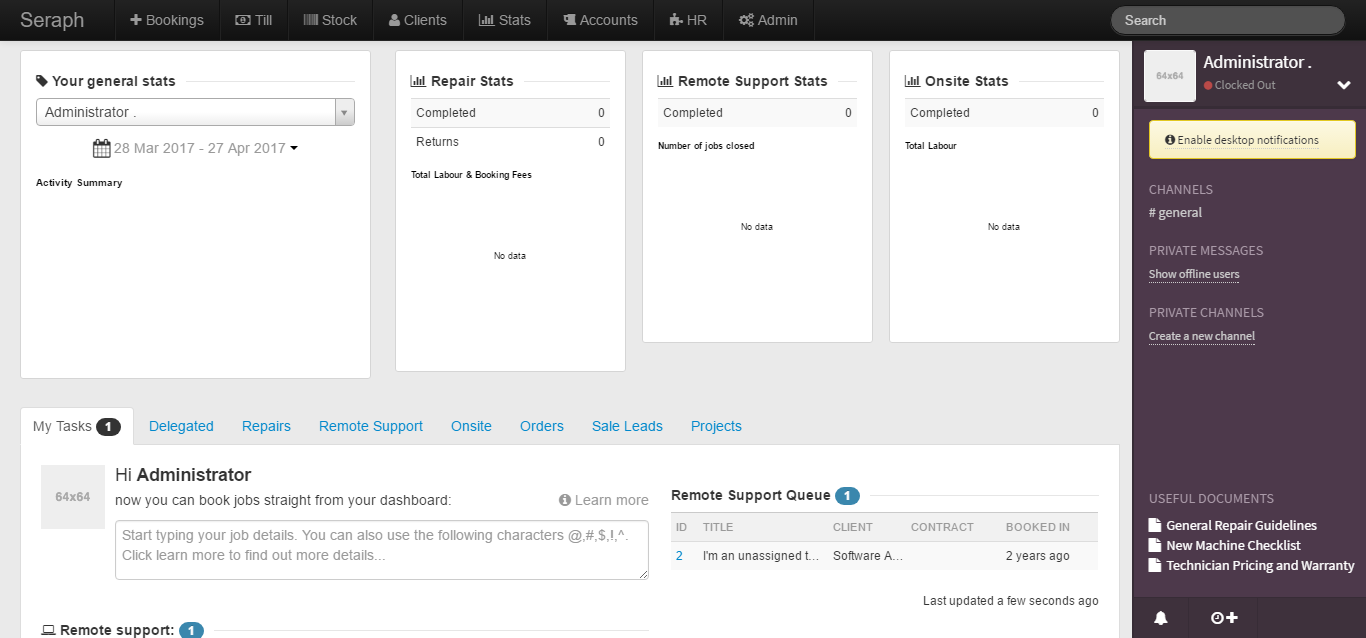
And this the Seraph’s Dashboard.
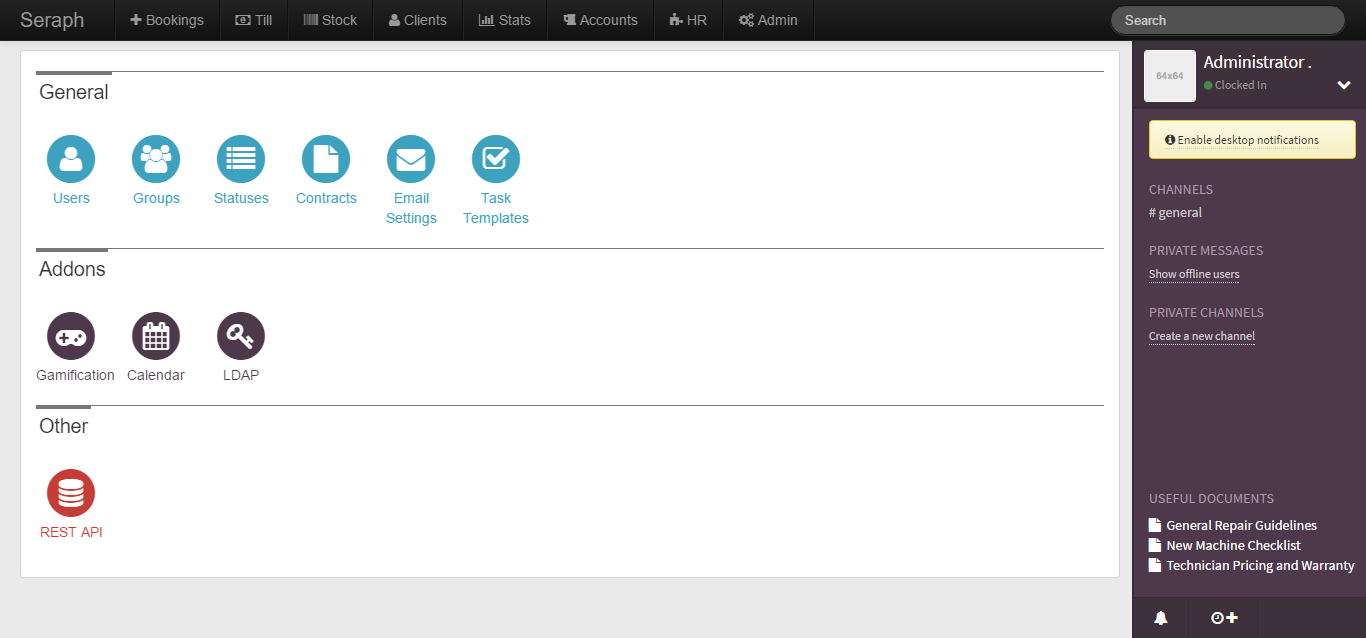
To administrate Seraph, click on Admin in the toolbar and you will see this administration page:
Here you can manage the users, user groups, contracts, task, etc.
5. Booking Jobs
To book a new job, go to Bookings in the toolbar
You need to select a customer on the search bar first. There’s already one called “Software Assistance” and it will be used for the following examples.
5.1. Repairs
To book a repair job, select your customer and then click on “Repair” next to the client search bar.
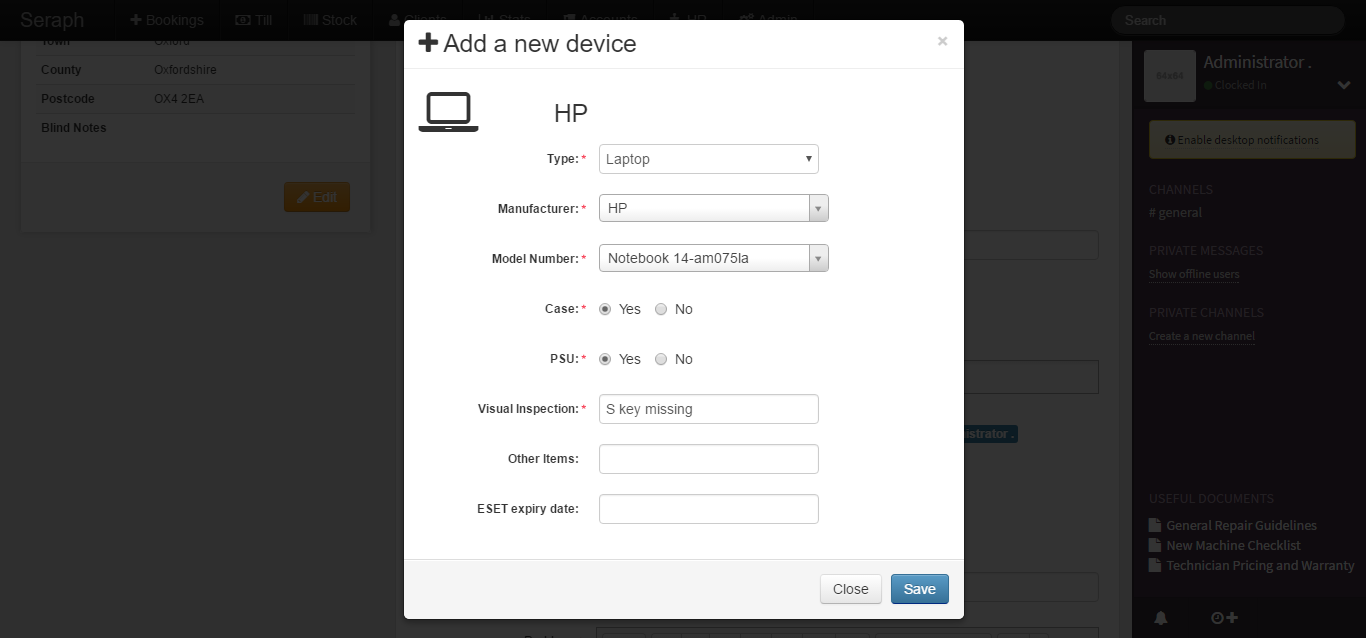
You need to specify what device is going to be repaired. To do that, click “Add a new device” and enter the details you will be asked for:
Then click Save.
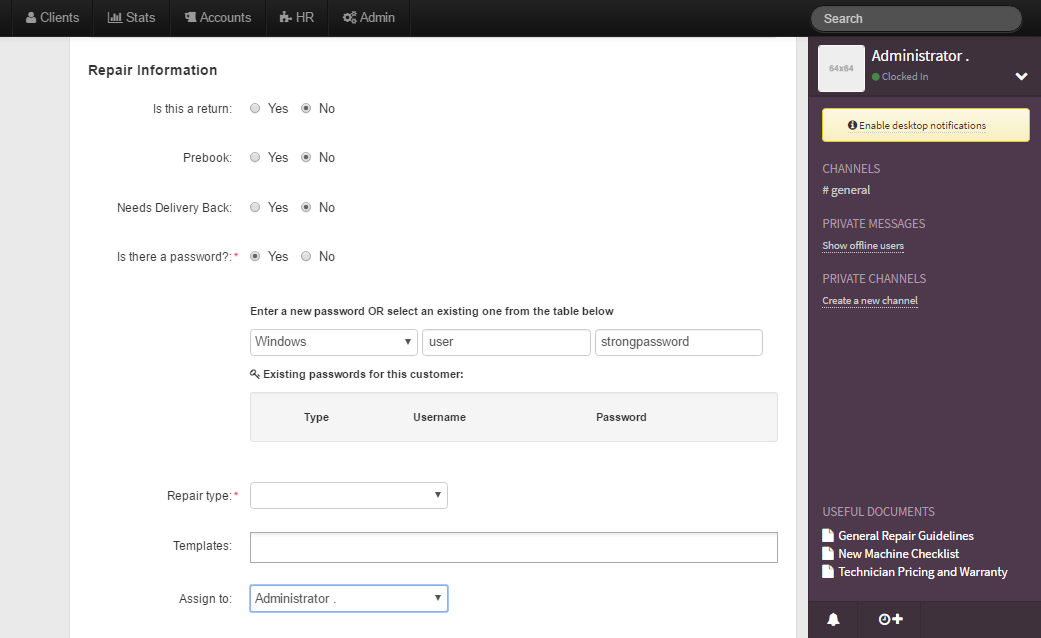
Now you have to provide the repair information:
And then describe the problem:
Now save the job.
And here is the job booked:
In this page you can decide how much are you going to charge for the labour, assign the job to another worker, see the location of the client, add notes to the job to track all the work, call the client, manage the devices, add parts that are going to be bought for the client (a new screen, for this example), etc.
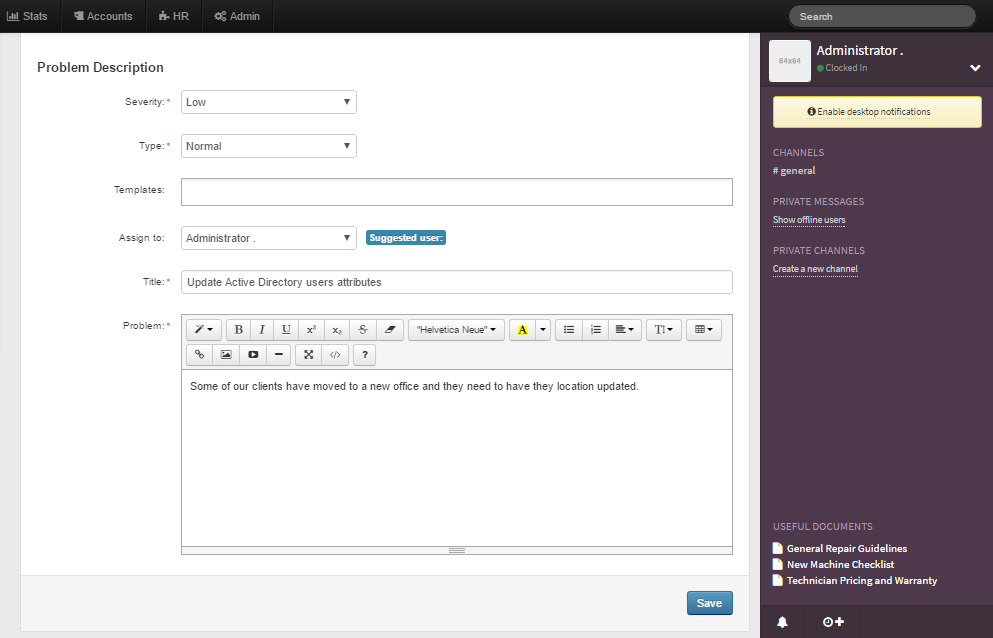
5.2. Remote Support
To book a remote support job, you have to do the same as you did for a repair job, but instead of selecting “Repair” select “Support”
Here you just have the select the severity, type and describe the problem.
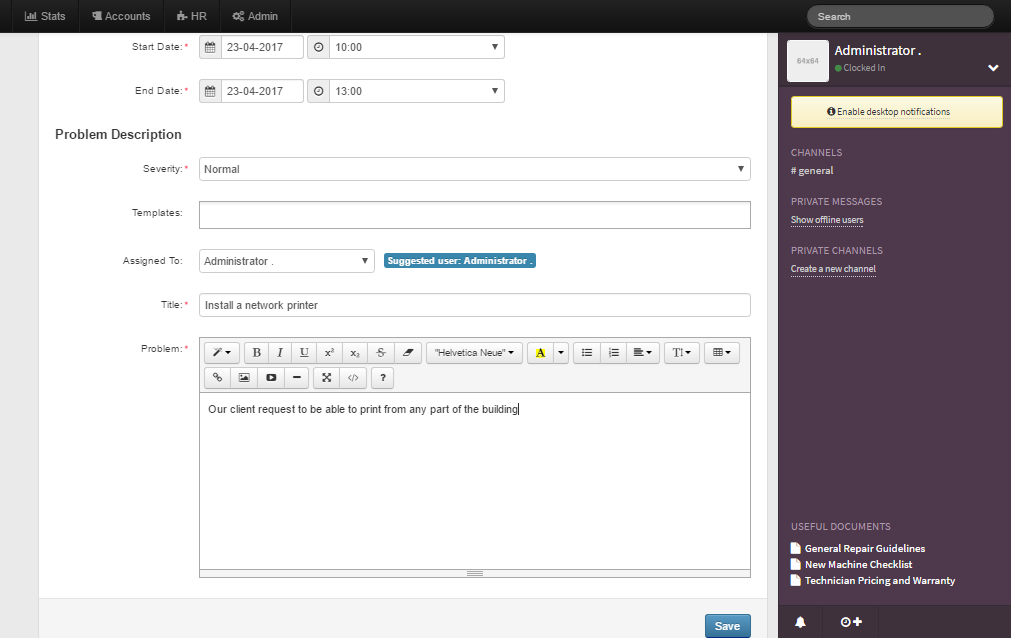
5.3 Onsite
To book an onsite job, you to set the date and describe the problem:
6. Closing Jobs
Select a job from your dashboard
Make sure you are charging for the labour and all parts ordered (if needed) and to write down everything on the notes. Then change the status of the job to Quality Control.